A few months ago, I made a necklace out of buttons to wear to a wedding. I wore it again the other night to band, and my friend Dawn came up to me and told me she wanted to learn how to make one. Word-of-mouth instructions wouldn't work; she wanted a hands-on tutorial. So I invited her and another band friend, Molly, who happened to join our conversation, which also included Pinterest, over to make button necklaces.
Items needed:
- Chain for necklace
- Jump rings
- buttons (not too big...you gotta be able to loop a jump ring through a hole)
- One or two pairs of pliers; needle-nose work well, as well as beading pliers
- Wire snips (might depend on your necklace chain...you won't need these if your chain links have openings)
- necklace clasp
Instructions
- Using your pliers, open a jump ring. I like to use one pair of pliers to hold the ring, and the other pair to open the ring. There is a proper way to open jump rings. Check out this jewelry tutorial to learn how. Slide the button onto the jump ring and close the jump ring. Repeat for as many buttons as you want.
-
If you plan to hang your buttons individually from your chain, you can skip this step. But if you're like me, you might want to use bunches of buttons. You can open one of the jump rings that's already attached to a button and add another button/ring combo, or you can attach two or more button/ring combos to a single jump ring. I usually do groups of two or three.
-
Decide how long you want your necklace to be and measure out a corresponding length of chain. If your chain links don't have openings, you might have to snip the chain. Otherwise, you should be able to open the chain links just like the jump rings.
-
Attach individual button/rings or bunches of button/ring combos to your necklace as you wish. Finish your necklace by attaching a clasp to the end of the necklace, using a jump ring.
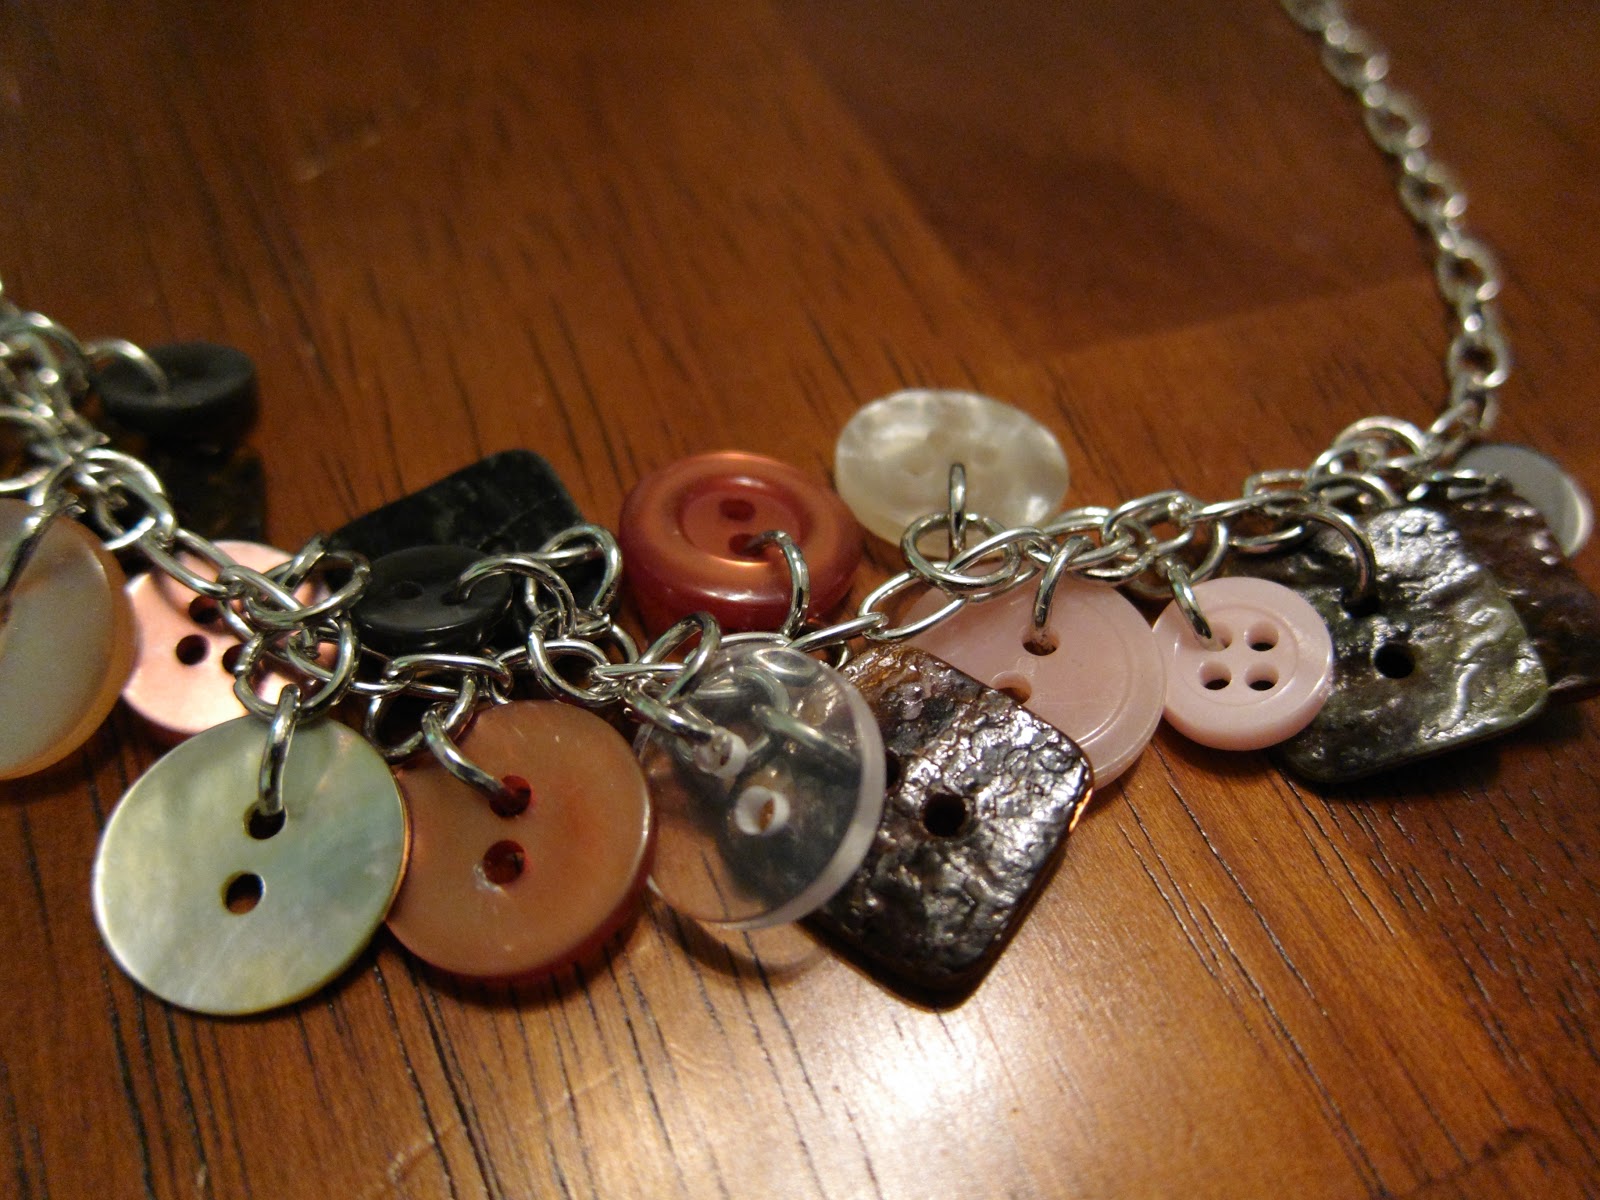
Here's what we ended up with:
| Dawn attached single buttons to her chain: |

|
|
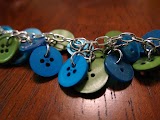
| Molly made this lovely bracelet:
|

|

|

|
| And this one is mine (I'm in love with green and turquoise) |

|
|
They were SO easy to make and we had a good time getting together to make them! I think we've decided to start a craft club. Our next project will be crayon art (I'm super excited for that one!). Check back to see how it turns out!


No comments:
Post a Comment